How to Upgrade to macOS Big Sur and Downgrade to Catalina
With almost the same excitement as children waiting for Santa to come and bring gifts and new happiness every year, Mac users eagerly anticipate the new macOS arrivals. As hopefully as kids, months before the release, they start to whisper excitedly and fidget impatiently, searching for news and updates.
This year’s hopes and dreams are all concentrated around macOS Big Sur 11.0. What does the new Mac year bring us? Let’s see…
Big Sur is drastically different from its predecessor sisters—it’s the first macOS with the version number 11.0! Never know what to expect, huh?
One more big change is the design, combining freshness and familiarity with revamped windows and icon designs along with totally new system sounds. Safari has become more efficient. Not only is it faster, but it also offers more customization for users. Even Chrome and Firefox extensions can now be used in your all-time favorite Safari.
AirPods have a better automated device-switching system, easing the pain many users used to have. Siri is reportedly smarter and able to answer more questions. One definitely needs to start with the important “What’s the meaning of life?” query. User friendliness and acceleration of update speed is highly welcome and expected from Big Sur.
Upgrade to Big Sur Tips and Tricks
Just as successful military operations start from tactics, not from maneuvers themselves, the successful upgrade lies in preparation and thoughtfulness more than action. First of all, you need to make sure all your valuable files (e.g., photos, work documents, second and third backup of these) are safeguarded.
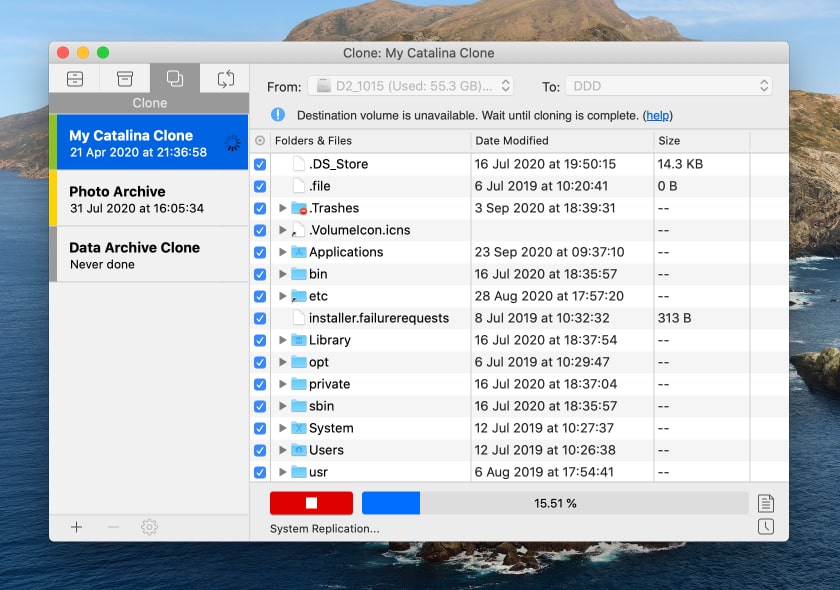
With cutting edge backup software like Get Backup, you can go even further. Imagine that you can create a bootable clone of your disk. Then you’ll be able to retrieve all your data and the system “as is” without any minor changes. Sounds magical, doesn’t it? The Pro tip—you have to check that you can start from this exact clone to be able to retrieve the system from it. It will save you much anxiety and frustration should you really need to use it.
Create a Bootable Clone of Your Disk in Get Backup
Upgrade Was a Bad Idea. Now What Do I Do?
After the upgrade, an awful thought might creep in, “What if Big Sur is not for me? The sounds are unusual, I cannot wrap my head around the new Safari. AirPods don’t do my favorite trick anymore... is there no turning back?”
And what if the problem with Big Sur is a real pain in the neck, not just a whim? Big Sur may not work for the general public:
- the most needed app does not work, or it works with terrible issues,
- the system itself is unstable or slows down your device.
Lighten up, no problem here, you have a way out! You can always downgrade to macOS Catalina.
How to Downgrade to macOS Catalina
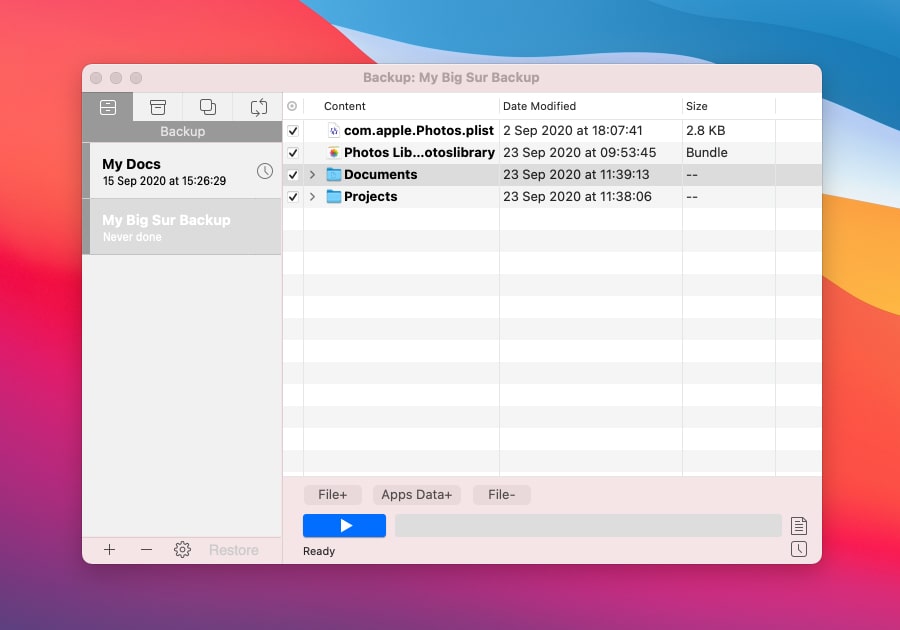
Back Up Your Work on macOS Big Sur
When you decide to downgrade from macOS Big Sur to Catalina, be sure to make a backup of the work that you’ve already created there (to be able to restore it step-by-step).
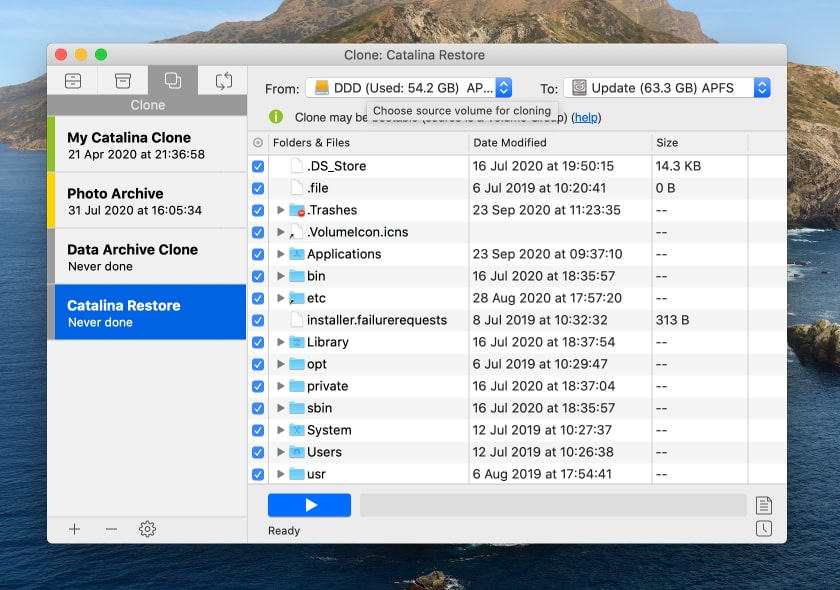
Boot from the Clone
Remember the clone from which you’ve started your operation… pardon… upgrade? Here’s when it comes in most handy. Boot from the clone and format the container where Big Sur is (everything there will be erased) in APFS. Start Get Backup and now clone your system in the new APFS container on your computer.
Reboot into the new (old :-)) system.
Restore Your Backup Made on macOS Big Sur
Now restore all your previously done work on macOS Big Sur from the backup.
Voila! You’re all set.
Julia Shtelmukhova
Published: September 2020